
This lesson is made with PSPX9
But is good with other versions.
© by SvC-Design

Materialen Download :
Here
******************************************************************
Materials:
2749alap jpd 2023Mts.jpg
2794marytube2023.png
signo...png
Text.png
******************************************************************
Plugin:
Plugin - ToolBox - Tiler
Plugin - Graphics Plus - Gross Shadow
******************************************************************
color palette
:
******************************************************************
methode
When using other tubes and colors, the mixing mode and / or layer coverage may differ
******************************************************************
General Preparations:
First install your filters for your PSP!
Masks: Save to your mask folder in PSP, unless noted otherwise
Texture & Pattern: Save to your Texture Folder in PSP
Selections: Save to your folder Selections in PSP
Open your tubes in PSP
******************************************************************
We will start - Have fun!
Remember to save your work on a regular basis
******************************************************************
1.
Color from the picture.
2.
Open a new transparent image of 850x550 px
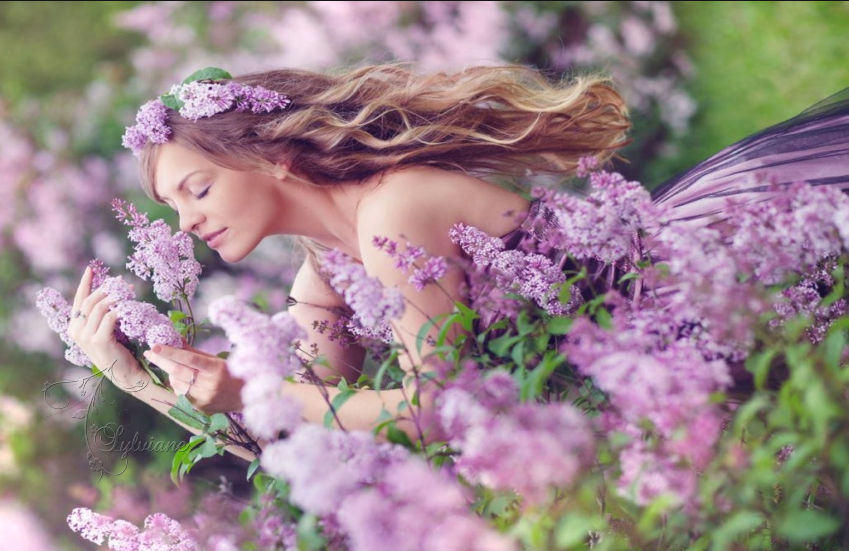
Choose an organ pipe jpg you like
I found it in the above link, I have included a couple of pictures..
If the empty part between the shape and the edge of the image is too large, cut it.
There's no need for that. It doesn't give a pattern.
I show you:
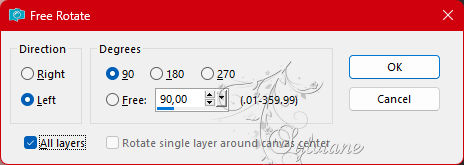
3.
Image - Free Rotate…
4.
take a light color from your image
fill canvas with the light color
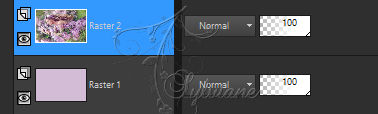
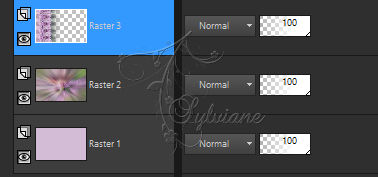
5.
Layers - New Raster Layer
6.
Selections - Select All.
7.
Activeer image 2749jpg
Edit - Copy
Edit - Paste Into Selection.
8.
Selection - Select None
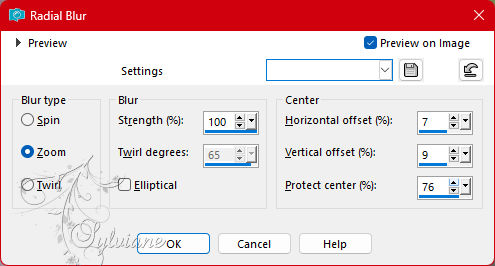
9.
Adjust - blur - radial blur
10.
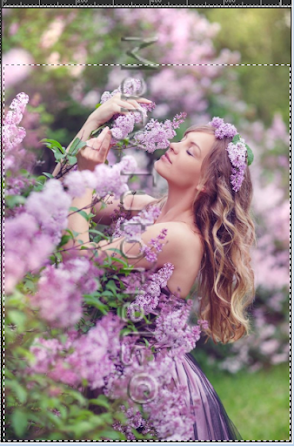
Open 2794marytube2023.png
Delete watrmark
Edit – Copy
Edit - Paste as new layer
11.
Plugin - ToolBox - Tiler...
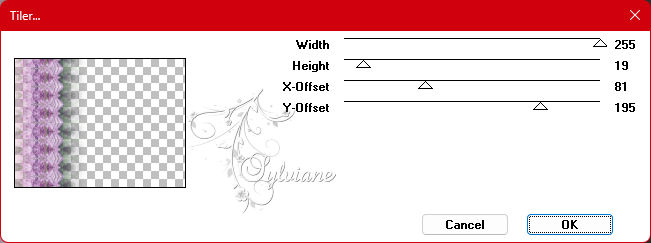
voorbeeld:
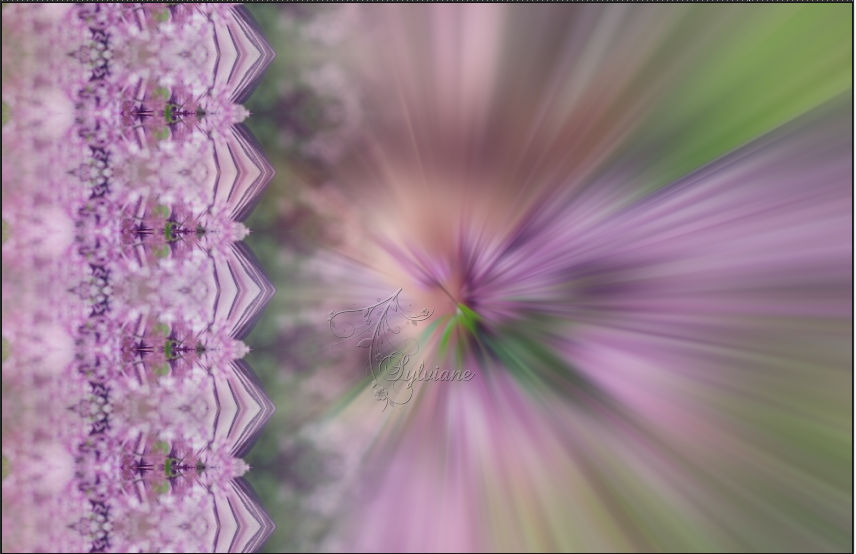
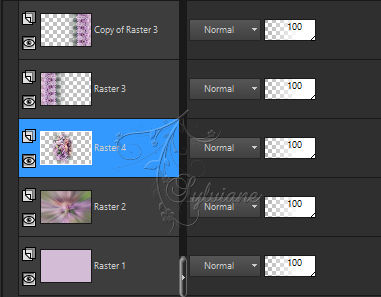
12.
Layers - Duplicate
13.
Image - Mirror - Mirror Horizontal.
14.
Activeer 2794marytube2023.png
Edit – Copy
Edit - Paste as new layer
15.
resize if necessary
Layers – arrange – move down (2x)
16.
Layers - Merge - Merge Visible.
17.
Image – Add Borders –symmetric – 3px – color dark
18.
Edit – Copy
19.
Selections - Select All
20.
Image – Add Borders –symmetric – 55px – any color
21.
Selections – Invert
22.
Edit - Paste Into Selection
23.
Adjust - Blur - Gaussian Blur...
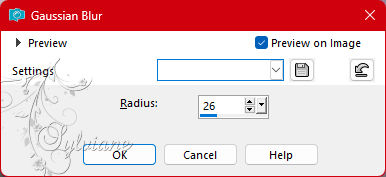
24.
Selection remains.
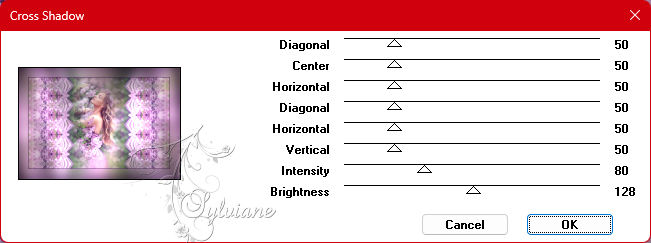
25.
Plugin - Graphics Plus - Gross Shadow...
26.
Selections - Invert
27.
Effects - 3D Effects - Drop Shadow:
2/1/65/48 – color:#000000
Selection - Select None
28.
Open Text.png
Edit – Copy
Edit - Paste as new layer
place him as in the example
29..
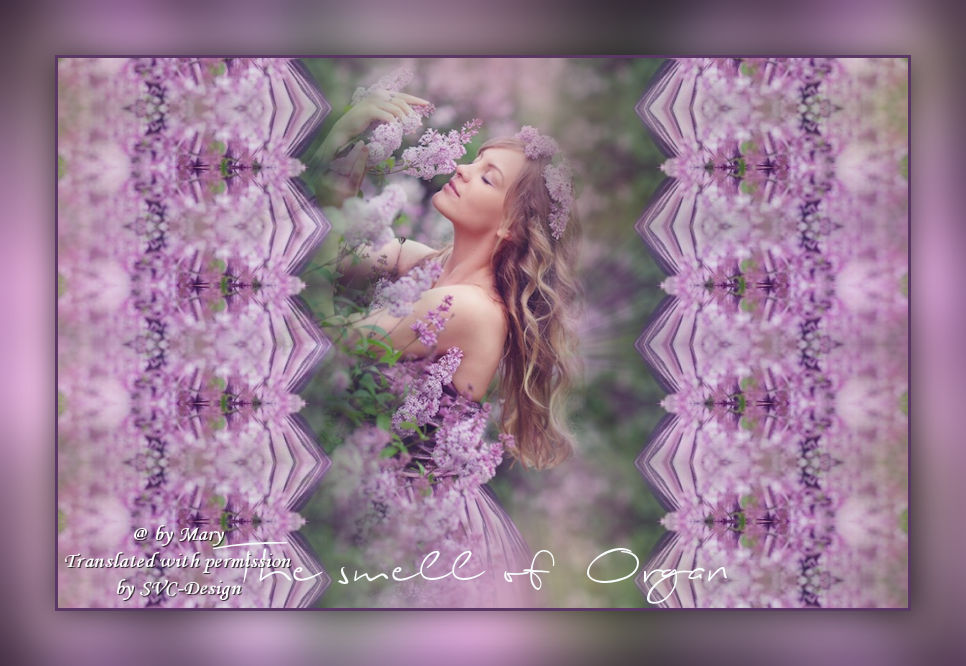
Layers - Merge - Merge Visible.
30.
put the author's watermark on it
put your watermark on it
31.
Layer – merge – merge all (flatten)
Save as JPEG
Back
Copyright Translation 2023 by SvC-Design